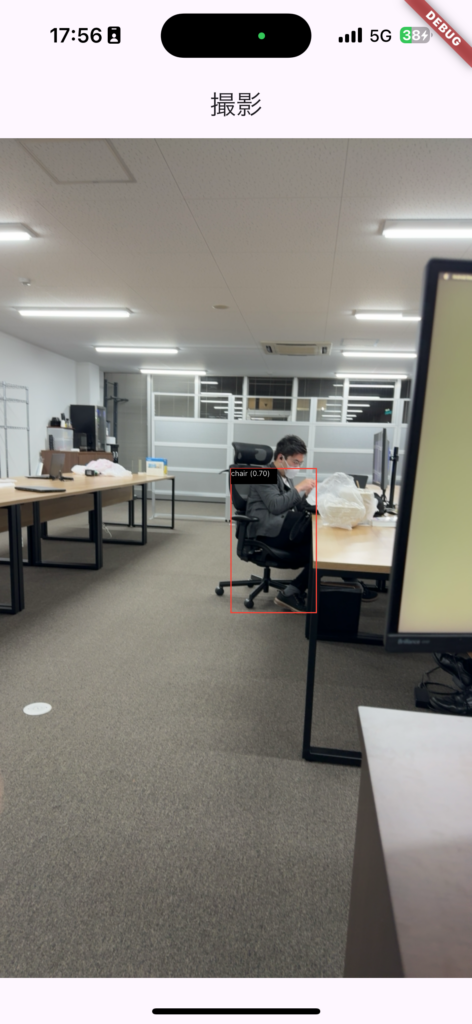
はじめに
YOLOv8モデルをTensorFlowで動作させるには、PyTorchでトレーニング済みのモデルをTensorFlow Lite(tflite)形式に変換し、独自の入力前処理・推論後処理を実装する必要があります。
1. PyTorchモデルをtfliteに変換する
YOLOv8は、ultralyticsのライブラリを使うと簡単に変換できます。
import yaml
from ultralytics import YOLO

# yolo8n.pt to tensorflow lite
model = YOLO('yolov8n.pt')
model.export(format='tflite')

# metadata.yaml to labels.txt
metadata = yaml.load(open('yolov8n_saved_model/metadata.yaml', 'r'), Loader=yaml.SafeLoader)
labels = metadata['names']
with open('labels.txt', 'w') as f:
    for label in labels:
        f.write(labels[label] + '\n')
これで、yolov8n_saved_model/yolov8n_float[16or32].tflite というTensorFlow Liteモデルと、labels.txtが生成されます。
2. tfliteモデルの入力形式と前処理
tfliteモデルにデータを入力する際には、正確な前処理が必要です。
特殊な入力形式
YOLOv8のtfliteモデルは、BRGの順序で、640×640の画像データを入力する必要があります。
前処理コード
以下は、画像をtfliteモデルに適した形式に変換する例です。
// 画像をリサイズ。スレッドで実行
final cmd = (Command()
  ..image(image)
  ..copyResize(
    width: tensorWidth, // tfliteの入力幅(640など)
    height: tensorHeight, // tfliteの入力の高さ(640など)
    interpolation: Interpolation.nearest,
  ));
var resizedImage = await cmd.getImageThread();

// BRGの順に並び替え、正規化した配列を取得
var tensor = Float32List(resizedImage.width * resizedImage.height * 3);
var i = 0;
for (var y = 0; y < resizedImage.height; y++) {
  for (var x = 0; x < resizedImage.width; x++) {
    var pixel = resizedImage.getPixel(x, y);
    tensor[i++] = pixel.b / 255.0;
    tensor[i++] = pixel.r / 255.0;
    tensor[i++] = pixel.g / 255.0;
  }
}

// 変換後のtensorを得た
return tensor;
3. 推論結果の後処理とパース
YOLOv8のtfliteモデルの出力は、以下のような構造の2次元配列です。
検出するオブジェクトの数をN、クラスの数をMとして、下記のようなレイアウトになります。左上から右下の順に並びます。
cx1,cy1,w1,h1,c1,c2…,cx2,cy2,w2,h2,c1,c2…のようにオブジェクト毎に並ぶデータ構造が一般的なのですが、cx1,cx2,cx3…,cy1,cy2,cy3,…,w1,w2,w3,…のように属性毎に並ぶので、注意が必要です。
| オブジェクト1 | オブジェクト2 | … | オブジェクトN |
| cx1 | cx2 | … | cxN |
| cy1 | cy2 | … | cyN |
| width1 | width2 | … | widthN |
| height1 | height2 | … | heightN |
| 領域1に対するclass1の信頼度 | 領域2に対するclass1 | … | 領域Nに対するclassNの信頼度 |
| 領域1に対するclass2の信頼度 | 領域2に対するclass2の信頼度 | … | 領域Nに対するclass2の信頼度 |
| : | : | … | : |
| 領域1に対するclassMの信頼度 | 領域2に対するclassMの信頼度 | … | 領域Nに対するclassMの信頼度 |
この構造に基づき、推論結果を解析します。
/// テンソルを結果に変換
///
/// テンソルから検出結果を取得します。
/// テンソルの値は以下のように並んでいます。
tensorToResults(Float32List t) {
  var results = <Detection>[];
  for (var e = 0; e < numElements; e++) {
    // 最も確信度の高いクラスを取得
    var maxClass = -1;
    var maxConfidence = confidenceThreshold;
    for (var c = 0; c < numChannels - 4; c++) {
      var confidence = _getConfidenceFromTensor(t, e, c);
      if (confidence > maxConfidence) {
        maxClass = c;
        maxConfidence = confidence;
      }
    }

    // 確信度が閾値を超えていない場合はスキップ
    if (maxClass == -1) {
      continue;
    }

    // 検出結果を追加
    final rect = _getRectFromTensor(t, e);
    if (rect.left < 0 || rect.right > 1 || rect.top < 0 || rect.bottom > 1) {
      // 画像の範囲外の場合はスキップ
      continue;
    }
    results.add(Detection(
      label: _labels[maxClass],
      labelId: maxClass,
      confidence: maxConfidence,
      rect: rect,
    ));
  }
  return results;
}

/// テンソルから指定したクラスの信頼度を取得
/// @param t テンソル
/// @param e 要素のインデックス
/// @param c クラスのインデックス
double _getConfidenceFromTensor(Float32List t, int e, int c) {
  return t[e + (c + 4) * numElements];
}

/// テンソルから中心座標を取得
///
/// @param t テンソル
/// @param e 要素のインデックス
Rect _getRectFromTensor(Float32List t, int e) {
  return Rect.fromCenter(
      center: Offset(
        t[e],
        t[e + numElements],
      ),
      width: t[e + 2 * numElements],
      height: t[e + 3 * numElements]);
}

class Detection {
  final String label;
  final int labelId;
  final double confidence;
  final Rect rect;

  Detection({
    required this.label,
    required this.labelId,
    required this.confidence,
    required this.rect,
  });

  Rect scaledRect(double width, double height) {
    return Rect.fromLTRB(
      rect.left * width,
      rect.top * height,
      rect.right * width,
      rect.bottom * height,
    );
  }
}
4. 全体のコード
全体のコードサンプルは、こちらにアップしています。
https://github.com/kobesoft-inc/yolov8_flutter_example
5. 終わりに
これで高精度なYOLOv8モデルをスマートフォン上で実行することができました。

スマホで各種物体検出を行うAIアプリの開発なら、ぜひ一度、ご相談ください。

